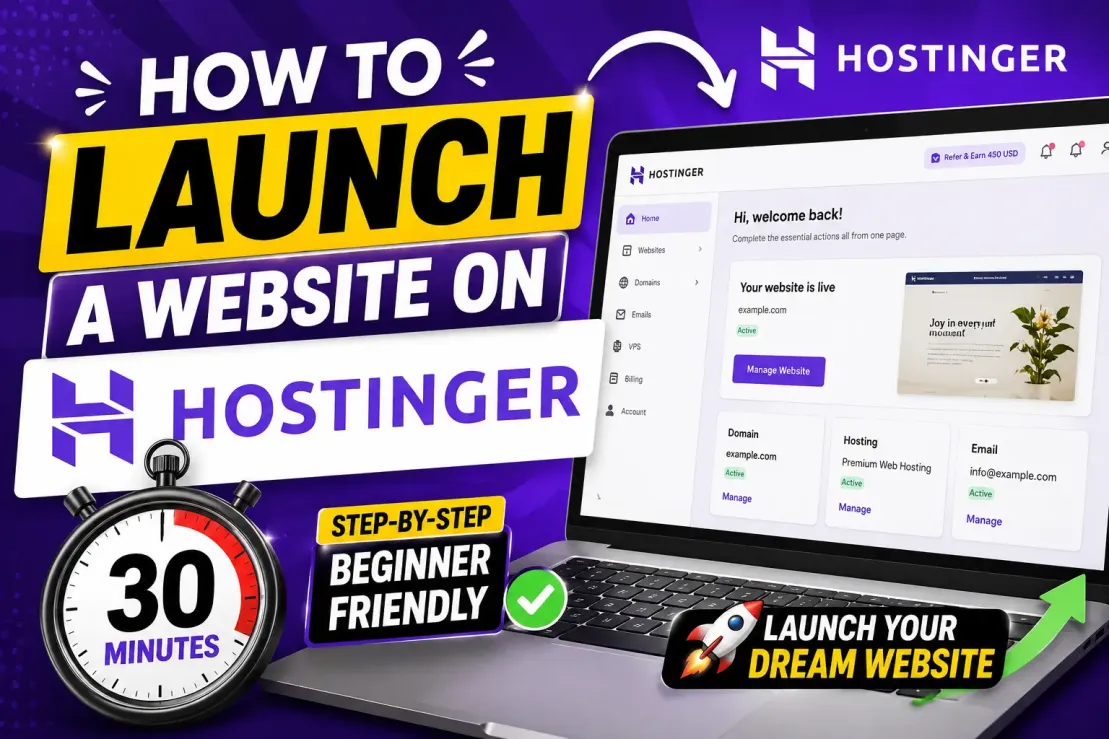
How to Launch a Website on Hostinger in 30 Minutes: A Zero-Friction Setup Guide
If you built a website a decade ago, you probably remember the sheer friction of the process. You had to wrestle with archaic cPanel interfaces, manually configure MySQL databases, figure out how to bridge your domain registrar to your host via clunky nameservers, and pray your FTP upload didn’t time out midway through.
Getting a site live wasn’t an afternoon project; it was an endurance test.
The hosting industry has matured significantly since then. The baseline expectation for consumer-level infrastructure is no longer just uptime—it’s user experience. Hostinger has aggressively capitalized on this shift, building an ecosystem specifically designed to collapse the time-to-launch metric. By replacing the traditional cPanel with their proprietary hPanel and heavily automating the deployment of Content Management Systems (CMS), they’ve essentially turned web development into a localized SaaS experience.
If you are a freelancer, a small business owner, or an independent creator, getting bogged down in server architecture is a waste of your time. You need digital real estate, and you need it live before your coffee gets cold.
This Hostinger website setup guide isn't a theoretical overview. It is a precise, minute-by-minute blueprint designed to take you from a blank screen to a live, SSL-secured website in exactly half an hour.
Create Website Now through Hostinger and avail 20% discount instant
The Architecture of Speed: Why 30 Minutes is Realistic
Before we start the clock, it helps to understand why this accelerated timeline is possible. Traditional hosting requires you to act as a sysadmin. You buy space, and what you do with it is your problem.
Modern platforms utilize a heavily guided onboarding sequence. Hostinger uses what amounts to an infrastructure wizard. When you purchase an account, the platform immediately begins pre-configuring server environments, auto-provisioning SSL certificates via Let’s Encrypt, and laying the database groundwork for WordPress—all while you are simply clicking through a setup questionnaire.
We are going to leverage this automation. Open a new tab, bring up Hostinger, and let's begin.
Ist Step login to Cpanel
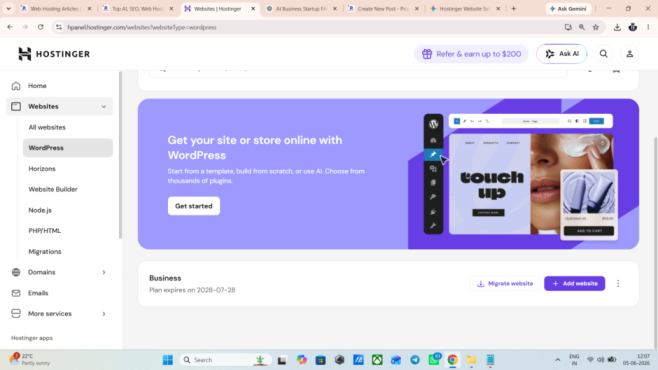
step 2 Add Website in wordpress
Step 3 Choose Domain

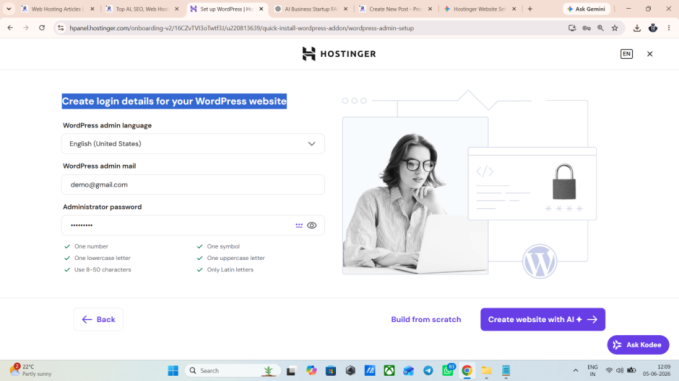
Step 4 Create login details for your WordPress website
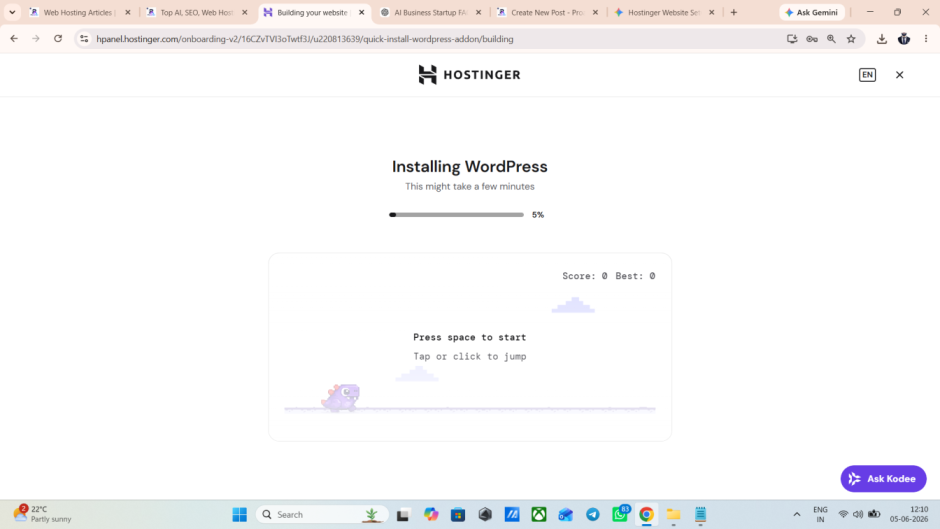
Step 5 Build From Scratch//and installing wordpress Start
Phase 1: Securing Your Digital Real Estate (Minutes 0–10)
Your first ten minutes are purely administrative. You are acquiring the server space and the domain name.
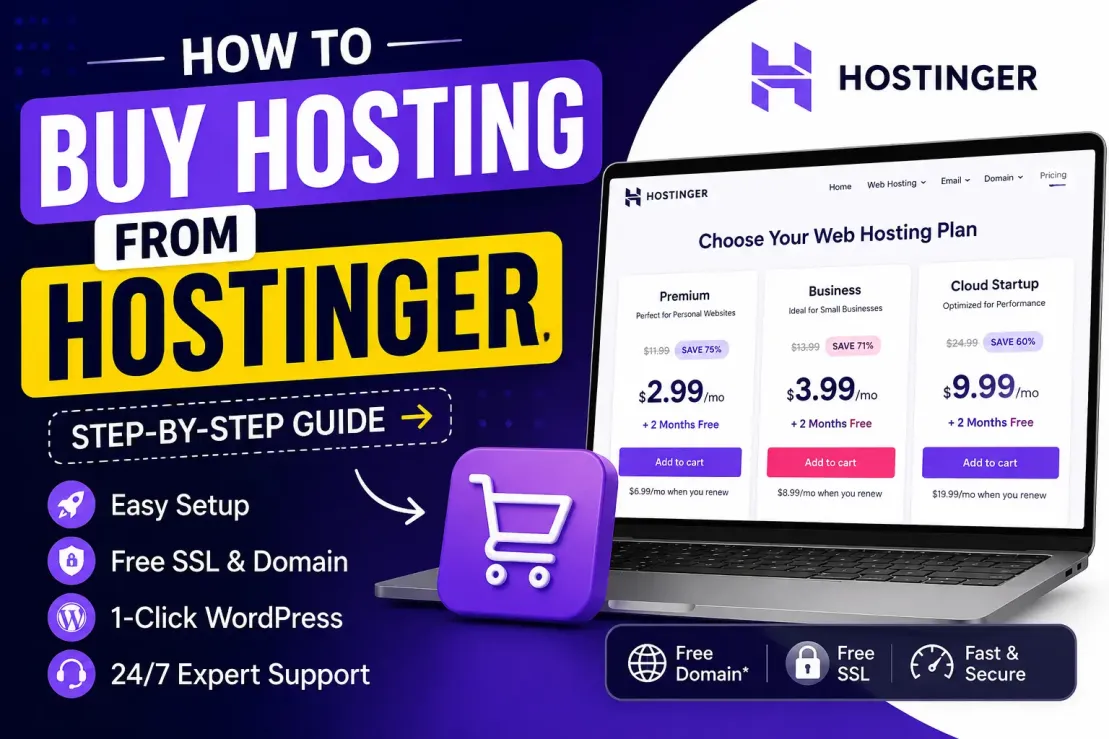
Selecting the Right Tier
Hostinger offers several tiers, but the decision matrix is surprisingly simple. Unless you are migrating an enterprise-level WooCommerce store with thousands of daily concurrent users, ignore the Cloud hosting plans for now.
Get Extra 20% OFF
Launch your website today with ultra-fast, secure & premium hosting from Hostinger. Click to claim your deal!
Look at the Shared Hosting options. The Premium or Business plans are the only two you should seriously consider.
-
The Premium Plan: Ideal for standard blogs, portfolios, and basic affiliate sites. It includes a free domain for the first year.
-
The Business Plan: Includes ObjectCache and higher processing power. If you plan to run heavy page builders (like Elementor) or a local e-commerce shop, the slight price bump here is worth the performance overhead.
The Checkout and Domain Acquisition
Once you select a plan, you’ll be prompted to choose a domain name. Because Hostinger acts as the registrar and the host, we bypass the historically frustrating step of DNS propagation and nameserver configuration.
Type in your desired domain. If it’s available, claim it.
A quick editorial note on privacy: Hostinger includes WHOIS domain privacy protection by default in most regions. Always ensure this is active. You do not want your personal address and phone number scraped by domain registries and sold to digital marketing lists.
[Internal Link: The Ultimate Guide to Choosing a Brandable Domain Name]
Phase 2: The Infrastructure Setup (Minutes 10–15)
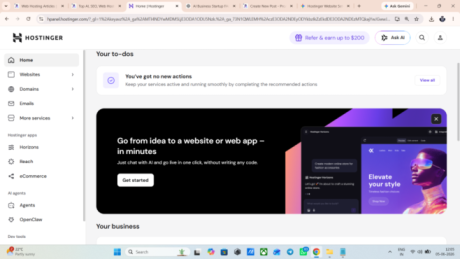
With the payment cleared, you will be dropped immediately into hPanel’s onboarding wizard. This is where Hostinger’s UX really differentiates itself from legacy hosts.
You will be asked who you are creating the website for (yourself, a client, a company) and what kind of site it is. Be honest here—the platform uses these data points to pre-install specific plugins.
The CMS Fork in the Road
At minute 12, you will face the most critical decision of the setup process. Hostinger will ask if you want to use WordPress or the Hostinger Website Builder.
This dictates the entire future of your digital property.
For 95% of users—especially bloggers, marketers, and businesses planning to scale—WordPress is the only correct choice. Select WordPress, enter an administrator email, and generate a strong password. This password is your key to the backend of your website; do not use the same password you used for your hosting account.
Phase 3: Deployment and Aesthetic Scaffolding (Minutes 15–25)
Hostinger will now take roughly two to three minutes to install WordPress, attach your domain, and provision your SSL certificate.
In the past, installing an SSL certificate required generating a CSR (Certificate Signing Request), validating it via email, and pasting encrypted keys into a control panel. Today, hPanel handles the Let’s Encrypt protocol automatically in the background. If you see a warning that SSL is "Installing," simply wait. It rarely takes more than five minutes.
The Initial Login
Navigate to the hPanel dashboard, find your newly created website, and click Admin Panel. You will be securely routed directly into your WordPress dashboard ([yourdomain.com/wp-admin](https://yourdomain.com/wp-admin)).
Stripping the Bloat
Hostinger installs a few utility plugins by default. Some are excellent; others are unnecessary.
-
Go to Plugins > Installed Plugins.
-
Keep LiteSpeed Cache (we will configure this shortly).
-
Keep Hostinger (their native management tool).
-
Deactivate and delete any "OptinMonster", "MonsterInsights", or "Hello Dolly" plugins. You want a clean, fast foundation, not a dashboard cluttered with up-sells.
Selecting a Lightweight Theme
Appearance dictates perception. Go to Appearance > Themes > Add New.
Do not get distracted by heavily animated, flashy themes. They are performance killers. Search for either GeneratePress or Astra. Install and activate your choice. Both of these themes are architecturally brilliant, load in milliseconds, and provide a clean canvas for your content.
Phase 4: The Pre-Flight Technical Checklist (Minutes 25–30)
Your website is live, but it is not yet optimized. Before you write your first post, you must lock down the technical fundamentals. Skipping this phase will artificially handicap your site's visibility in search engines.
1. Fix Your Permalinks By default, WordPress formats URLs like this: [yourdomain.com/?p=123](https://yourdomain.com/?p=123). This is terrible for both human readability and semantic SEO.
-
Navigate to Settings > Permalinks.
-
Select Post name (
[yourdomain.com/sample-post/](https://yourdomain.com/sample-post/)). -
Save changes.
2. Force HTTPS You have an SSL certificate, but you need to ensure all visitors are forced to use the secure connection.
-
Go to Settings > General.
-
Ensure both the WordPress Address (URL) and Site Address (URL) begin with
https://.
3. Activate LiteSpeed Caching Hostinger uses LiteSpeed web servers, which are incredibly fast, provided you use their specific caching engine.
-
Find the LiteSpeed Cache tab on your left sidebar.
-
Navigate to the Presets section.
-
Apply the Advanced preset. This will automatically minify CSS/JS and configure page caching without breaking your site.
The Immediate Aftermath: What Happens in Hour Two?
At the 30-minute mark, you have a fully functional, secure, and optimized piece of digital real estate. However, a quick reality check is necessary regarding immediate expectations.
If you purchased a brand new domain during Phase 1, the global DNS network is currently updating to recognize your new address. While Hostinger usually resolves this locally within minutes, users on different ISPs around the world might not see your site for another 1 to 24 hours. If your site looks broken on your phone but fine on your laptop, do not panic. It is simply DNS propagation running its course.
Furthermore, your site is entirely empty. Your next objective is establishing an About page, a Contact page, and configuring your primary navigation menu.
Best Hosting for bloggers, Bussiness and E-Commerce
Pros & Cons: The Reality of the Hostinger Ecosystem
It would be editorial malpractice to pretend any platform is flawless. Understanding the trade-offs of your new infrastructure is critical.
The Advantages:
-
Unmatched Onboarding: The initial setup phase is arguably the most frictionless in the industry.
-
LSCache Integration: Server-level caching out-of-the-box saves users from buying premium caching plugins like WP Rocket.
-
Aggressive Pricing: The entry point is remarkably low for the hardware provided.
The Drawbacks:
-
Renewal Rates: Like almost all budget hosts, the price you pay on day one will jump significantly upon renewal. Lock in a 48-month plan initially if capital allows.
-
Chat-Only Support: If your server goes down in the middle of a launch, you cannot pick up a phone. You are relying entirely on ticket systems and live chat.
-
Proprietary Control Panel: While hPanel is beautiful, it means tutorials written for cPanel (which make up 80% of the internet's web hosting guides) won't visually match your screen.
The Editorial Verdict
The democratization of web publishing is largely complete. We have moved from an era where launching a website required command-line knowledge to one where it requires little more than a credit card and basic reading comprehension.
Hostinger’s setup process is a clear reflection of this shift. By wrapping complex server administration in a highly visual, automated UI, they have effectively removed the technical barrier to entry. Your success is no longer dictated by your ability to manage infrastructure. Now, it is dictated entirely by the quality of the content you choose to publish on it.
Your server is running. Your SSL is active. Close the hPanel tab, open your WordPress editor, and start writing.


💬 Comments (0)
🔒 Please login to post a comment.
Login Now